Understand how to display your loyalty page (for non-2.0 Shopify themes without template section apps)
IMPORTANT NOTE: Displaying the BON loyalty landing page is available from the Basic plan or higher. Check out our pricing plans for more details.
Introduction
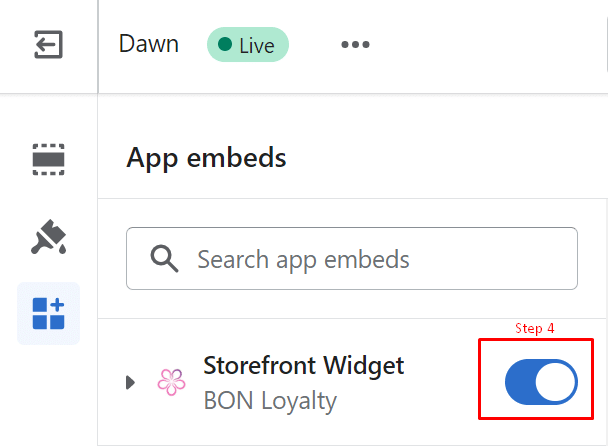
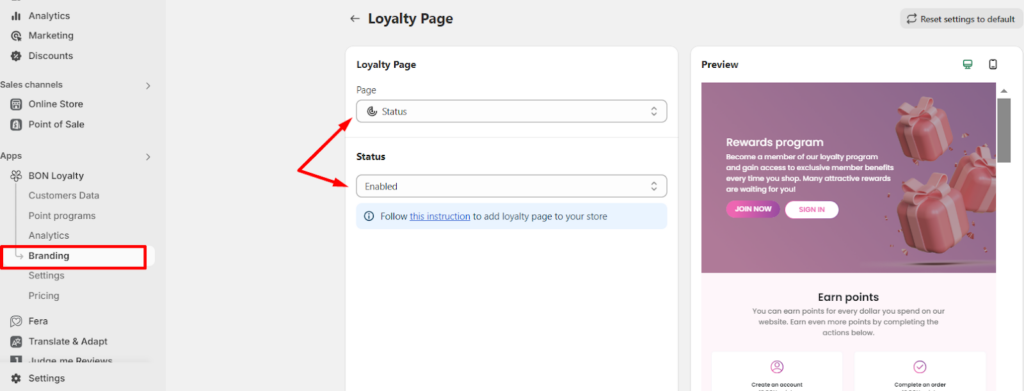
With a simple coding tweak, you can create a stunning loyalty page that will set you apart from the competition. Don’t miss out on this opportunity to boost customer engagement and drive sales!
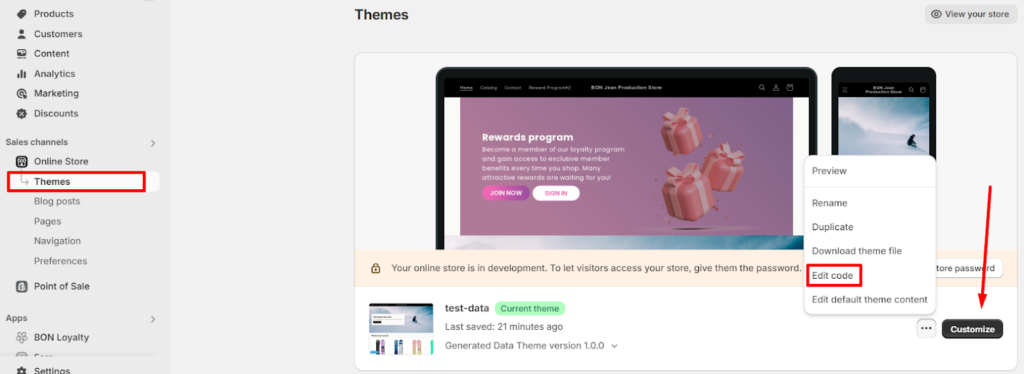
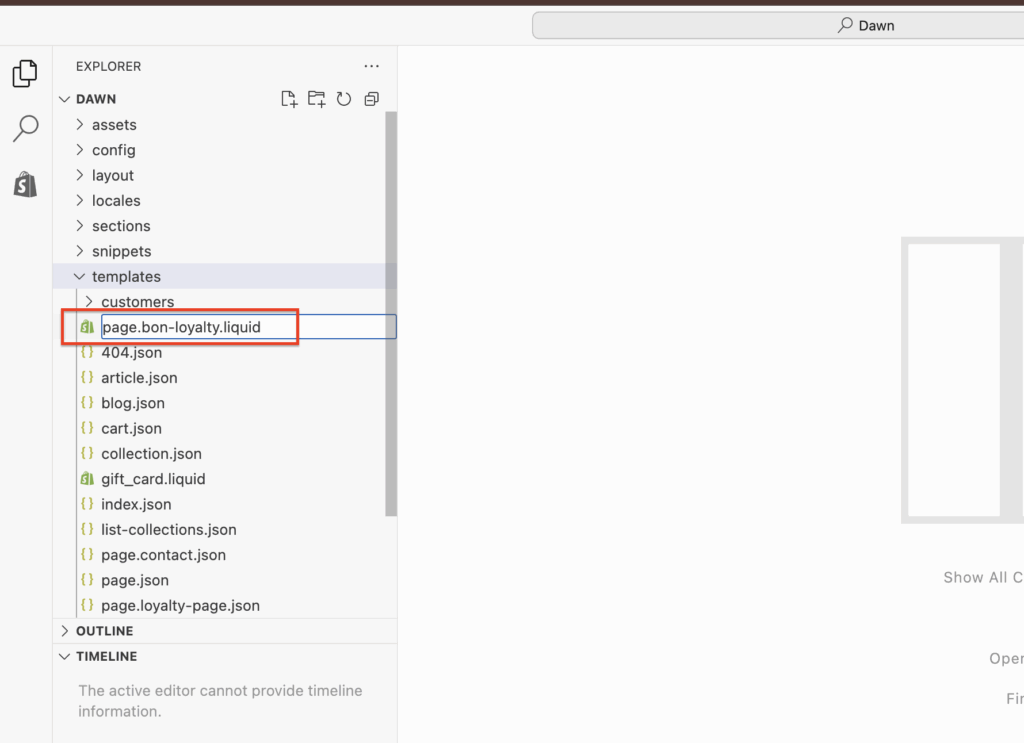
Next, you’ll need to assign the newly created template to the Pages you’re currently using in your store.
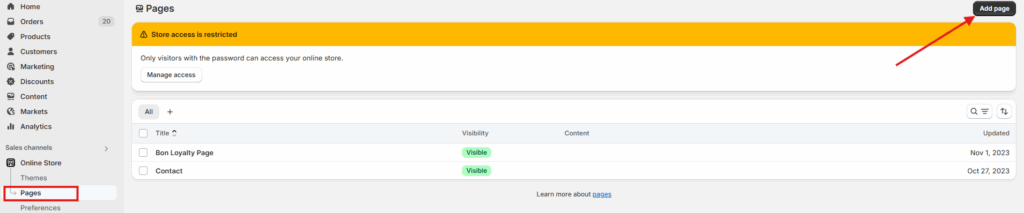
Go to your Shopify admin > Sales channels > Online store > Pages > Add page.
Select the new template you just created in the Theme template section. Name your Loyalty page (e.g., Rewards Program, Loyalty Page).
3. Add the new template to Content > Menus:
Last but not least, put the Loyalty page onto your storefront.
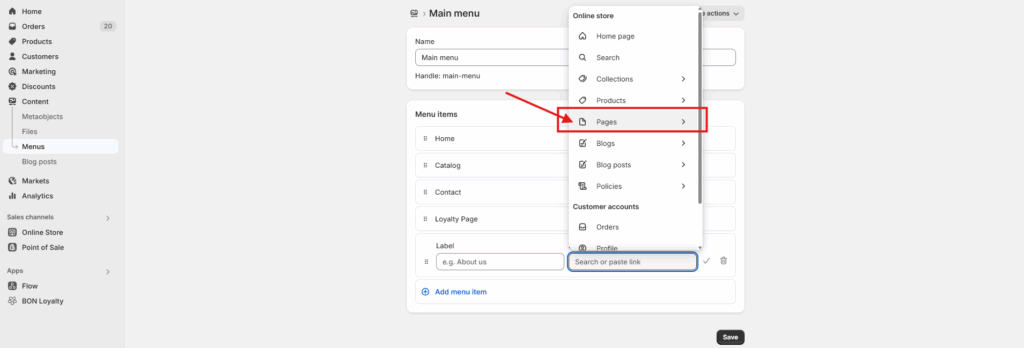
Go to your Shopify admin > Sales channels > Online store > Content > Menu > Choose to display your Loyalty page at either the Main menu (Header) or the Footer menu.
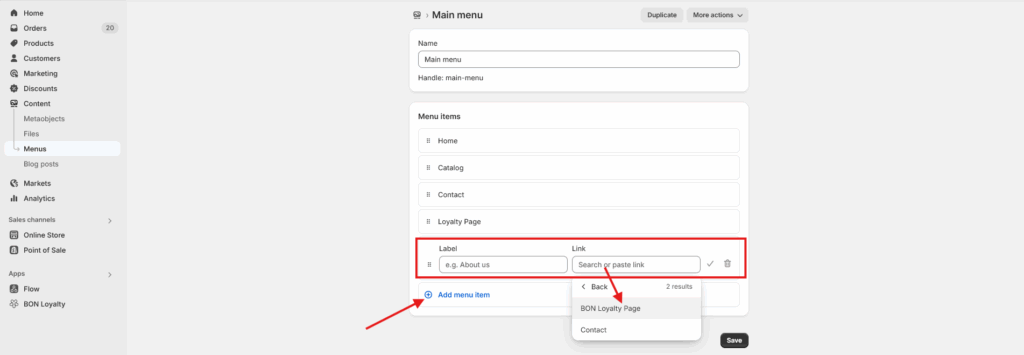
Click on either the Main menu or the Footer menu, then select Add menu item.
Label: Enter a name for the page, such as BON Loyalty.
Link: Choose Pages > Select the Loyalty page you created earlier.
Finally, click Save to apply the changes.
Your Loyalty page is now ready to engage and reward your customers!