Import data
26 April, 2022Customize your widget text
26 April, 2022Display your Loyalty Program in multiple languages
Understand how to display your loyalty program in multiple languages
Introduction
Want to make your loyalty program truly customer-centric? This guide will walk you through displaying multiple languages in your program and clarify what content will be automatically translated.
IMPORTANT NOTE: Displaying multiple languages is available in our paid plans: Basic, Growth, and Professional. Check out our pricing document for more information!
Overview
How to display multiple languages
Follow these two steps to set up your loyalty program in your desired languages:
Step 1: Add and Publish languages in Shopify Admin.
- In Shopify Admin, go to Settings > Languages.
- Click the Add Language button.
- To make the language visible in your store, click Publish.
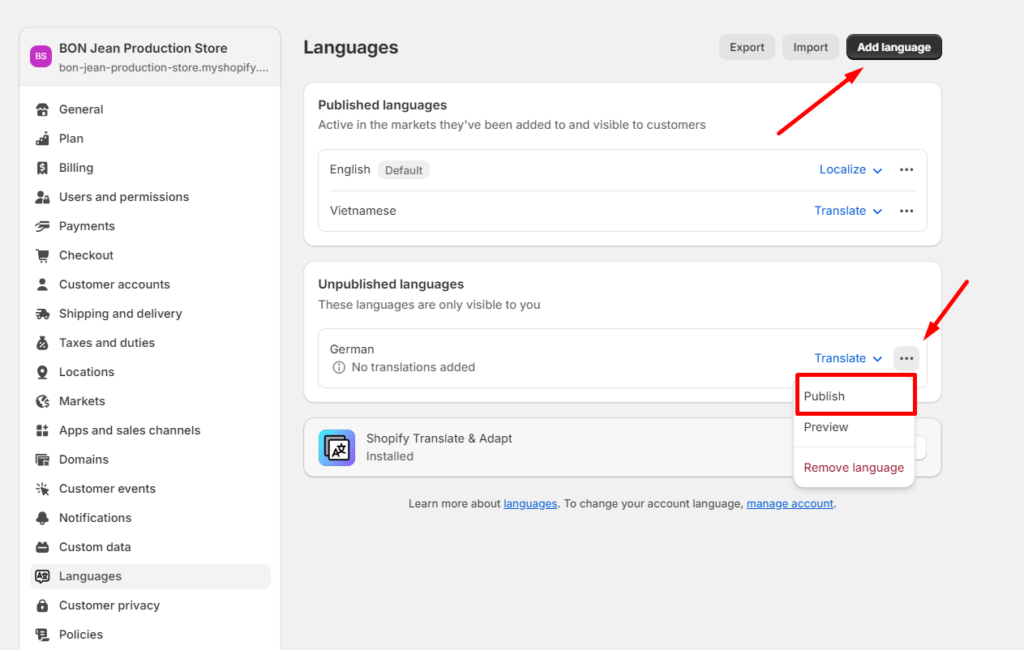
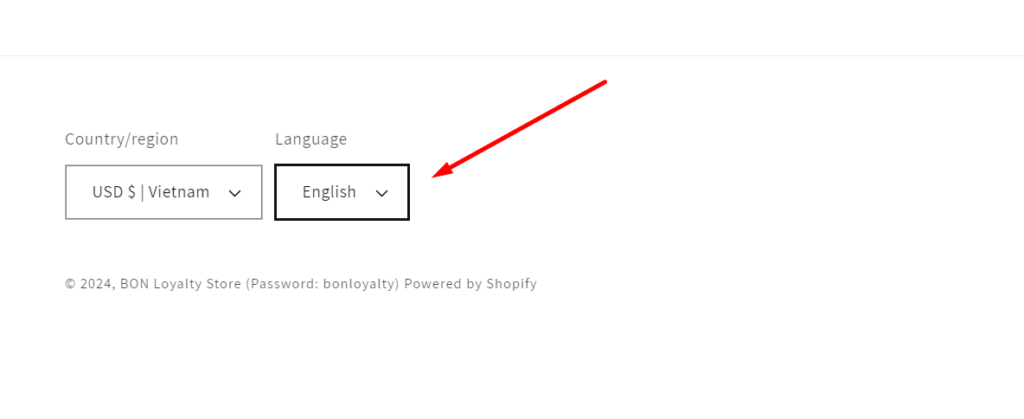
Once languages are added and published successfully, Shopify automatically installs the Translate & Adapt app and adds a language selector at the bottom of your store theme.
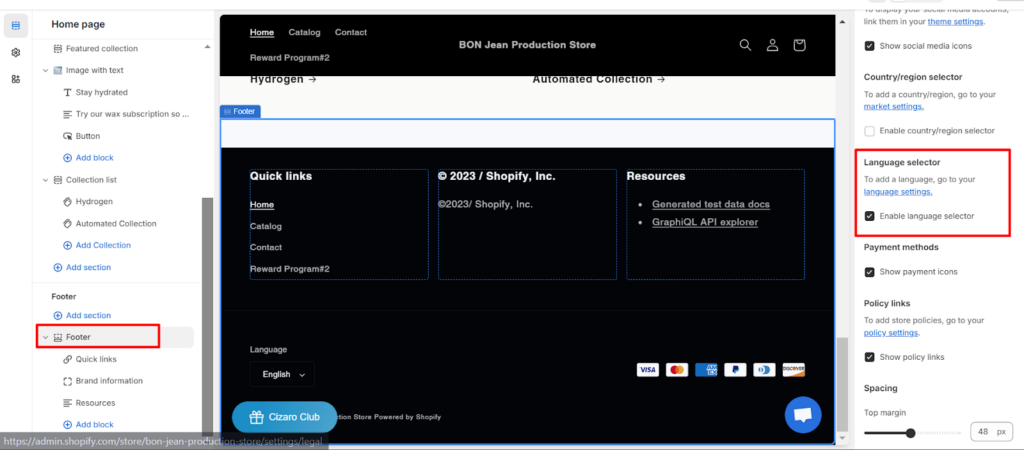
BON Pro Tip: You can enable or disable the language selector by navigating to your Published theme > Customize > Footer section > Select/Unselect the option to “Enable language selector” > Save.
Step 2: Add New Languages to BON’s Widget.
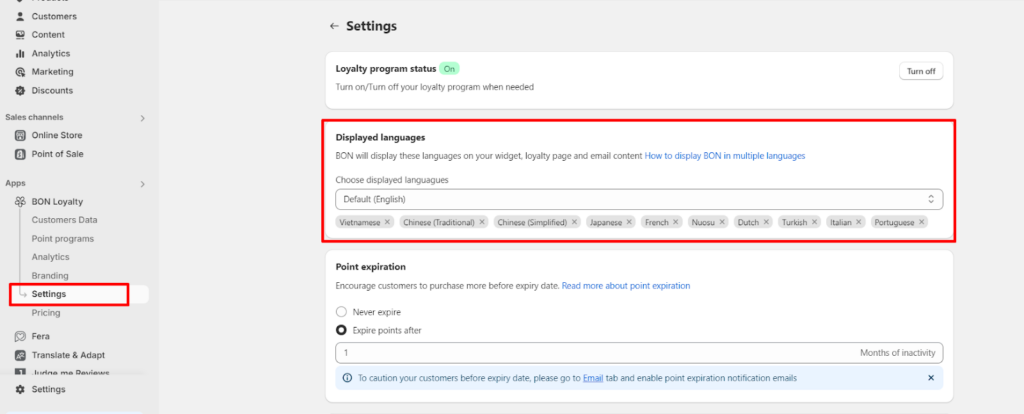
The next step is to go to BON > Settings > Add the languages you want to set up > Click Save.
What languages get translated automatically
IMPORTANT NOTE: BON currently supports automatic translations for the following 10 languages below. For other languages, you will need to manually translate the content from English.
- French
- Spanish
- Dutch
- German
- Italian
- Turkish
- Portuguese
- Chinese (Traditional)
- Chinese (Simplified)
- Japanese
Here’s the content that can be displayed in multiple languages:
- Widget icon: Title
- Widget text
- Loyalty page
- Email content
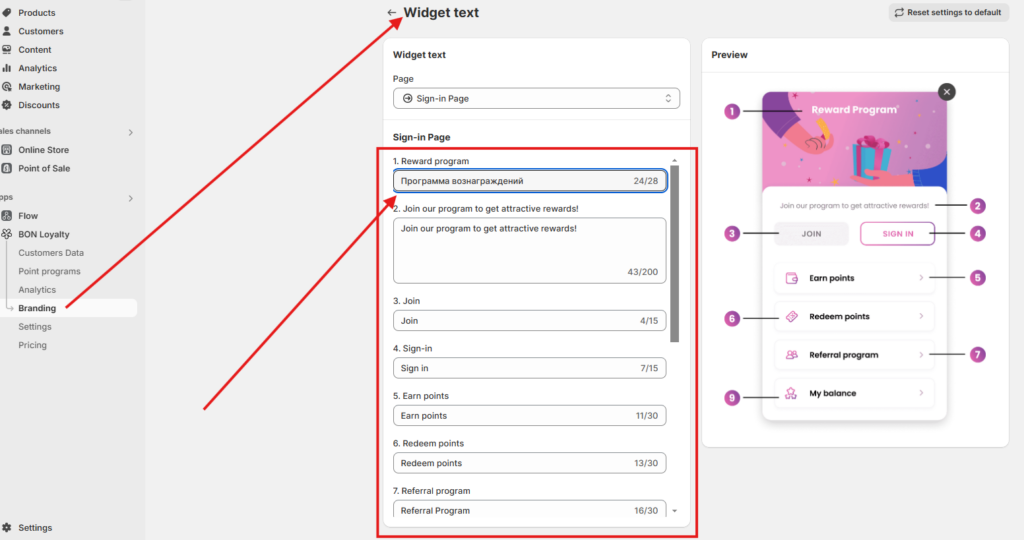
To choose the language, navigate to Branding > Select the section to customize > Languages > Choose the desired language.
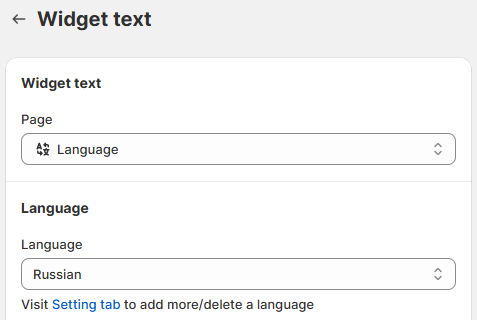
For example, Russian is not included in the list of 10 languages automatically translated, you will need to manually translate the default English text into Russian for each section > Don’t forget to click Save when it’s done.
