Import data
26 April, 2022Customize your widget text
26 April, 2022BON x Klaviyo integration
Learn how to integrate BON with Klaviyo and how to set up marketing campaigns in Klaviyo using BON’s attributes
NOTE: This feature is available starting from the Basic plan and higher.
Introduction
Klaviyo is a widely used email marketing platform that integrates well with Shopify. With BON x Klaviyo integration, it allows you to leverage the power of email marketing to enhance customer loyalty, increase repeat purchases, and create a more personalized experience for your customers.
Overview
Integration requirements
To integrate BON with Klaviyo, your store needs to subscribe to the Basic plan or higher.
Before being able to customize, your store must meet all of these requirements:
- You already have an active account on Klaviyo:
- Your Klaviyo account email must match your Shopify store’s default email.
IMPORTANT NOTE: Each Klaviyo integration can only integrate with one store. Data from that store will sync to Klaviyo, and BON cannot distinguish between stores if multiple stores share one Klaviyo account. To avoid data becoming convoluted and ensure accurate data syncing, please use a separate Klaviyo account for each store.
BON x Klaviyo integration instruction
Step 1: To start your integration, go to the Settings tab in BON Loyalty > Select ‘Set up‘ for the Integrations tab.
Step 2: Once you are in, you’ll find Klaviyo in the Email marketing section.
Step 3: Once you click ‘Install app‘, you’ll be taken to Klaviyo app listings for detailed information regarding features and users’ reviews.
Step 4: To integrate, please input this attribute ‘?show_integrate=true‘ ‘ in the URL > Press ‘Enter‘ to activate the ‘Integrate now‘ button.
Step 5: Once you click ‘Integrate now‘, you will be taken to Klaviyo. Here, please review the request data form, then click ‘Allow‘ to complete this integration.
Once you select ‘Allow‘, all data will be synced automatically from BON Loyalty to your Klaviyo account. The synced data will include:
- Point balance
- Referral URL
- Customers’ tiers
- Birthday date
- Member status
If you follow all the steps, and Klaviyo displays the status as ‘Enabled‘ status on Klaviyo’s end along with the ‘Success‘ status next to the ‘Sync Data’ button on BON’s end, the integration process will be successfully completed.
How to implement BON's data in the Klaviyo app
A. Customize email contents with BON Loyalty’s attributes
After the data in BON has been synced to Klaviyo successfully, you can now use loyalty program data in your email campaign.
Step 1: Go to your Klaviyo app > Select ‘Campaign‘ > Hover over an existing campaign and choose ‘Edit campaign‘ or create a new one.
Step 2: Click ‘Edit‘.
Step 3: Click on any text section available > Select ‘Add customization‘ > Scroll down to find 5 options to insert BON Loyalty’s data.
B. Managing customer data with lists and segments
In the Klaviyo app, you can also create and utilize lists and segments. Using data from loyalty programs such as BON can help you target specific groups of subscribers with tailored email campaigns.
Step 1: In the Audience section, choose ‘Lists & segments‘ > Select ‘Create New‘.
Step 2: At the Definition segment, click ‘Select a condition‘ > Choose ‘Properties about someone‘.
Step 3: Click on the Dimension drop-down menu > Scroll down to find the 5 data attributes from BON Loyalty.
C. Use event data to personalize email and SMS flows
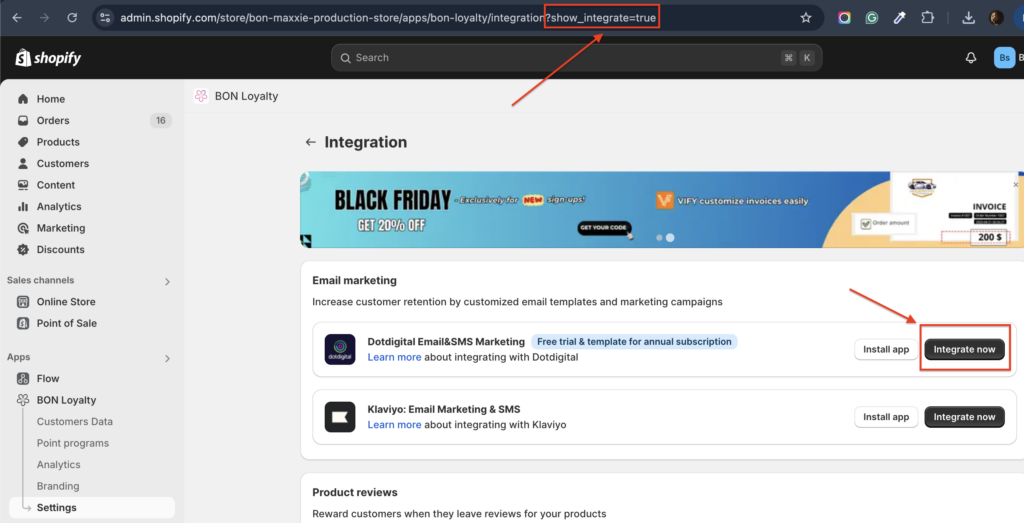
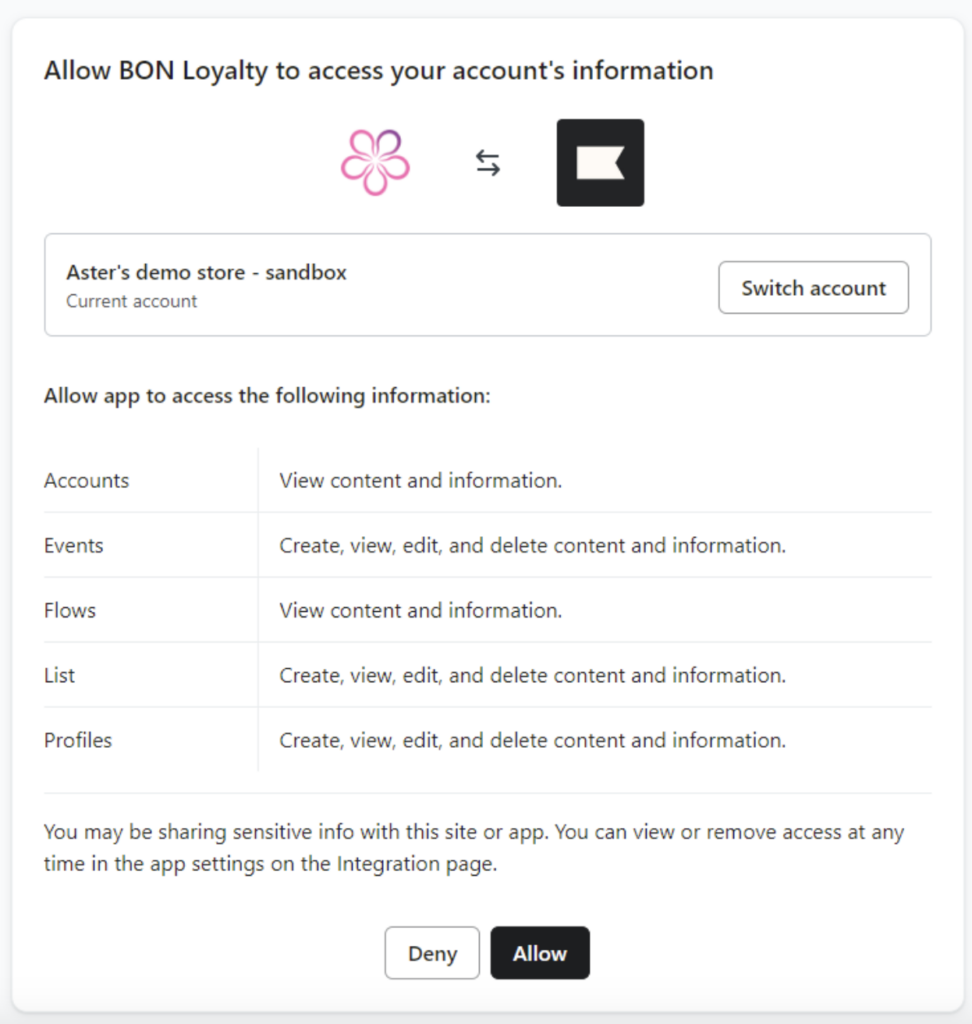
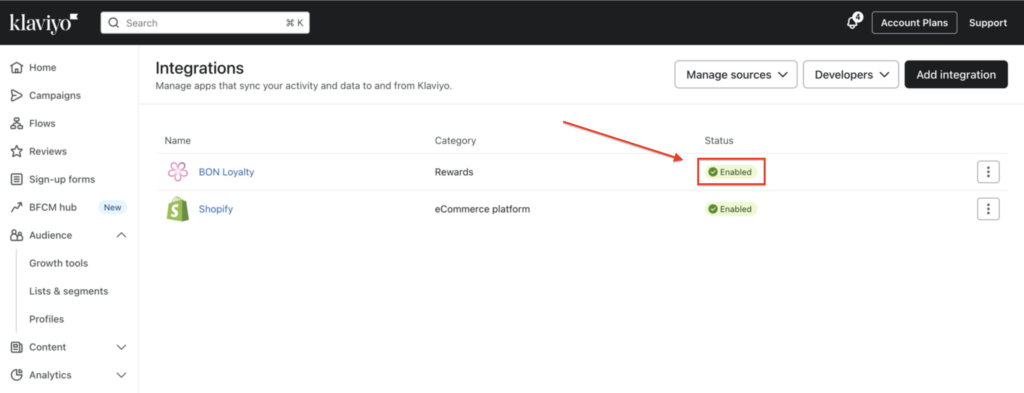
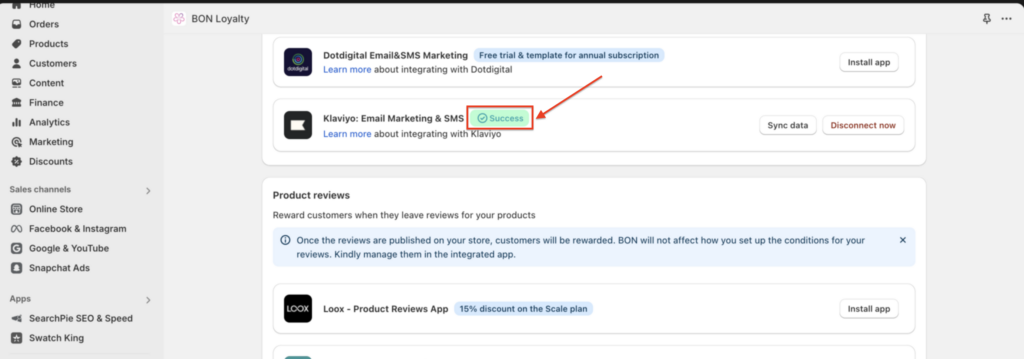
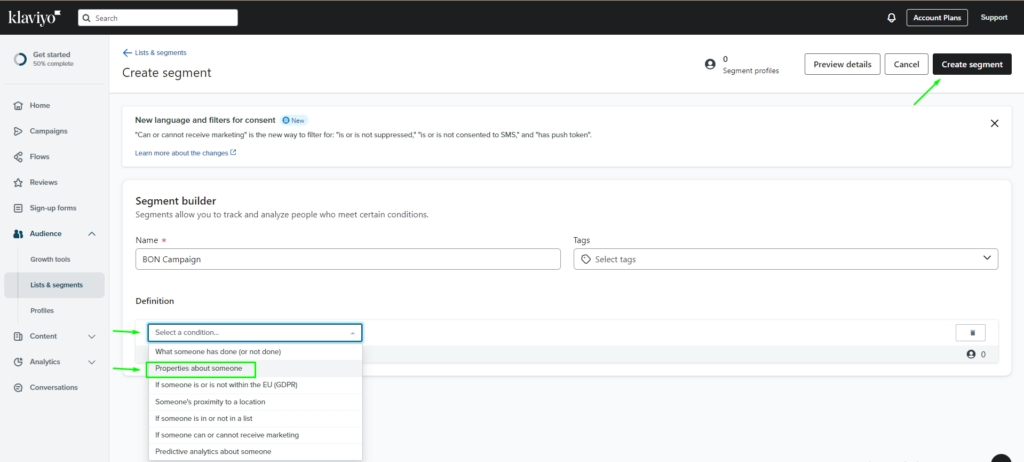
With BON and Klaviyo integration, you can select BON’s events to trigger the automated email flows in Klaviyo. Learn more about How to use custom events to set up flow in Klaviyo HERE.
Create a metric-triggered flow in Klaviyo that starts when a customer takes an action within your program.
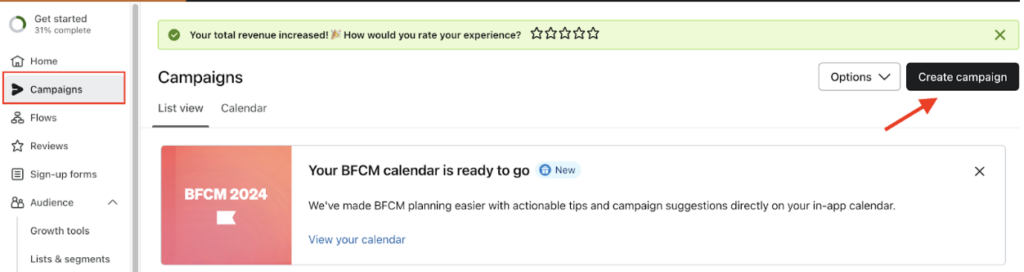
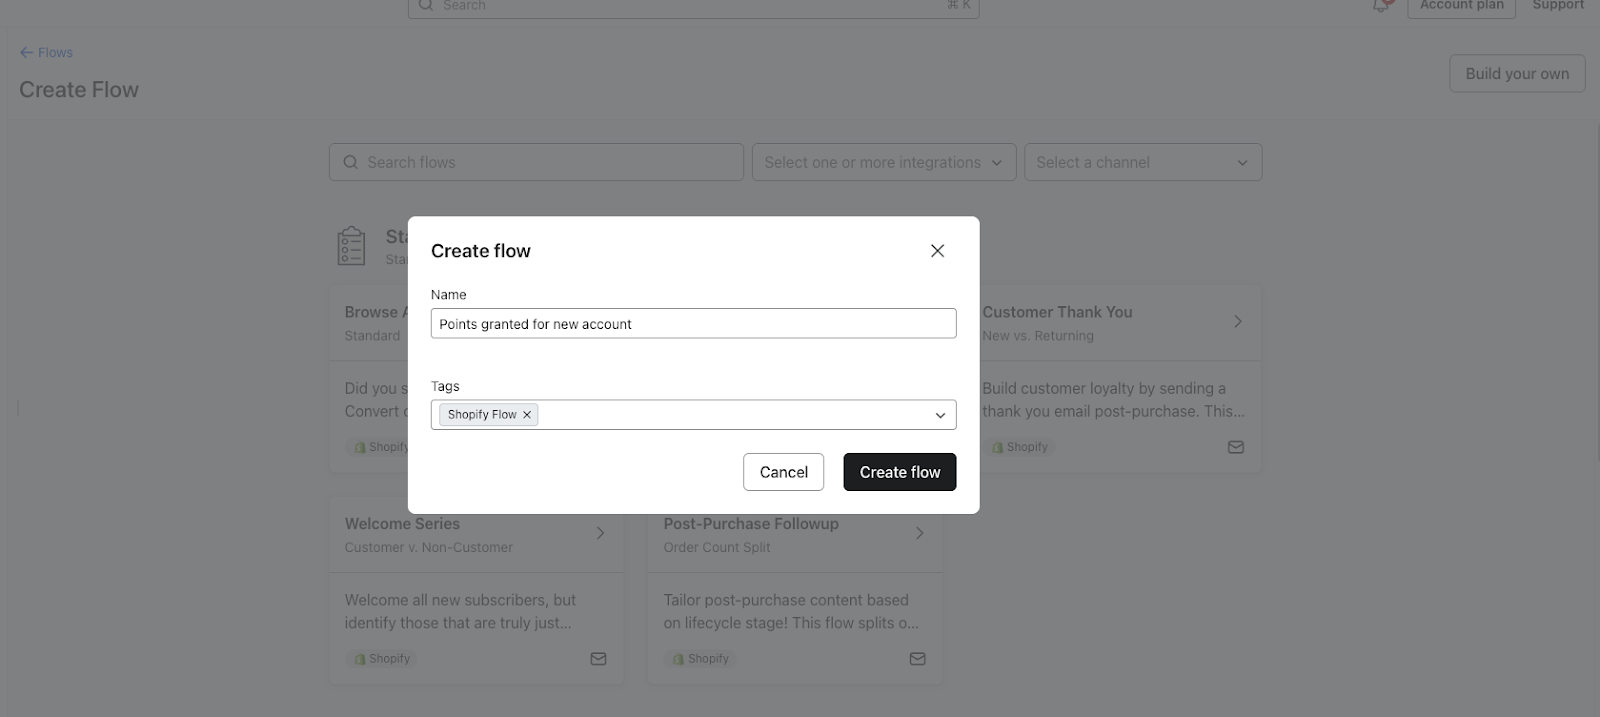
Step 1: From your Klaviyo account, go to Flows. Click Create flow > Build your own.

Step 2: Enter the name of your new flow in the pop-up. Optionally, add the tags to organize your flows > Click Create flow.

Step 3: The flow builder will ask you to select a trigger. Click ‘Your metrics‘ > BON Loyalty > Search for the preferred BON event on the list > In this example, we will add ‘Customer account created‘.

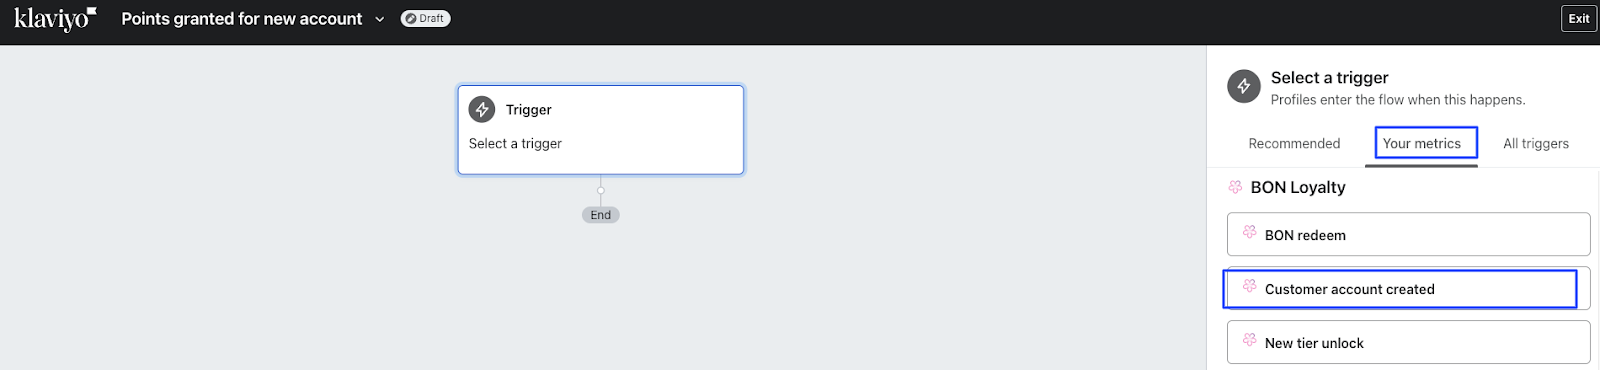
Step 4: Click ‘Confirm and Save‘.
Step 5: Drag and drop your preferred actions, timing, and logic boxes to the flow.
Step 6: Once you finish with the flow, click ‘Review and Turn on‘ to set your flow live or schedule it.