Understand what each Loyalty page setting does and how to set up a branded loyalty page for your store
NOTE: The Loyalty page feature is available on the Starter plan or higher. Check out our Pricing plans for more details.
Introduction
The Loyalty page is a dedicated page on your storefront where customers can learn how your program works, see how to earn and redeem points, check their VIP tier, and join your referral program. Signed-in members can also see their points balance and available rewards.
This guide walks you through every setting in the Loyalty page editor so you can match the page to your brand without writing any code. When you are ready to publish the page on your storefront, follow the Loyalty page display with no coding guide.
Open the Loyalty page editor
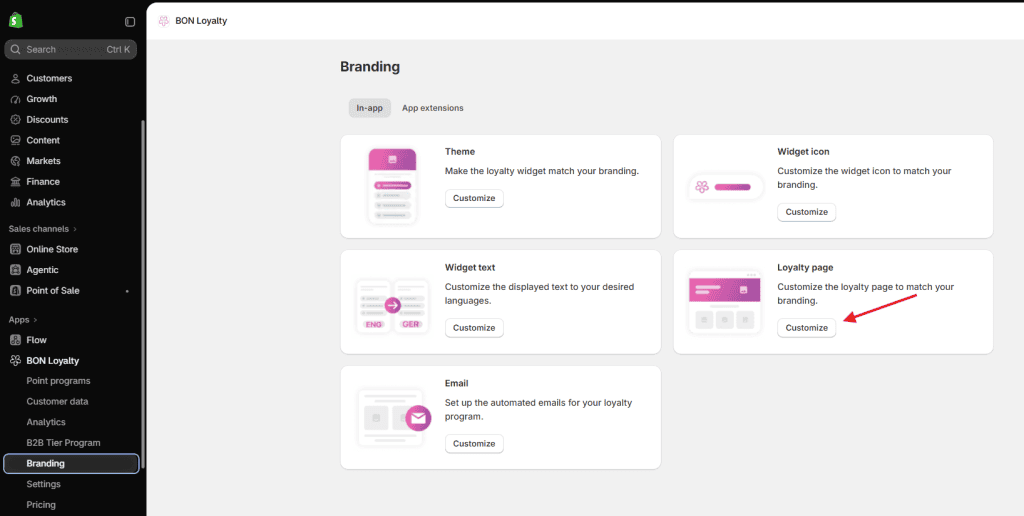
Go to BON Loyalty > Branding > In-app tab > Loyalty page > Click Customize.
Main features
The editor has two tabs:
Full page: Customize and activate the complete Loyalty page. The label next to the tab shows whether the page is Active or Inactive.
Loyalty blocks: Add individual loyalty sections (such as the header or referral block) to any page of your theme.
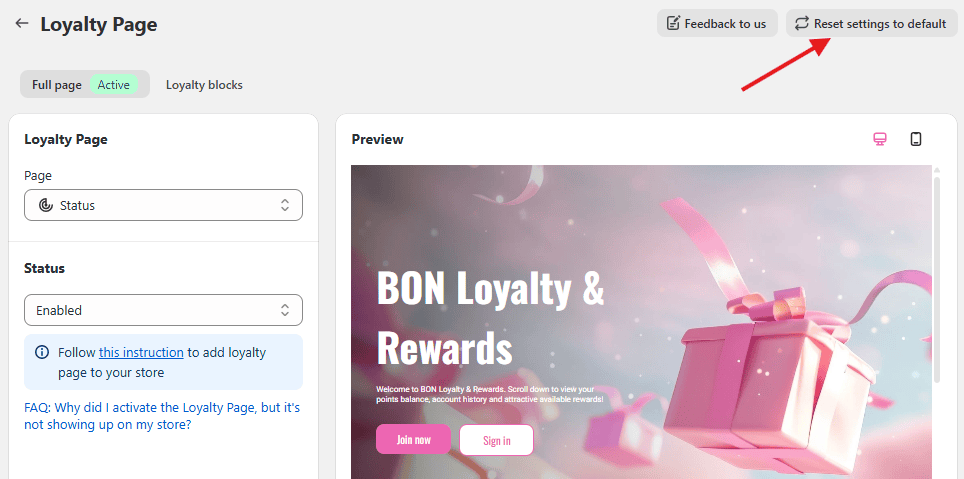
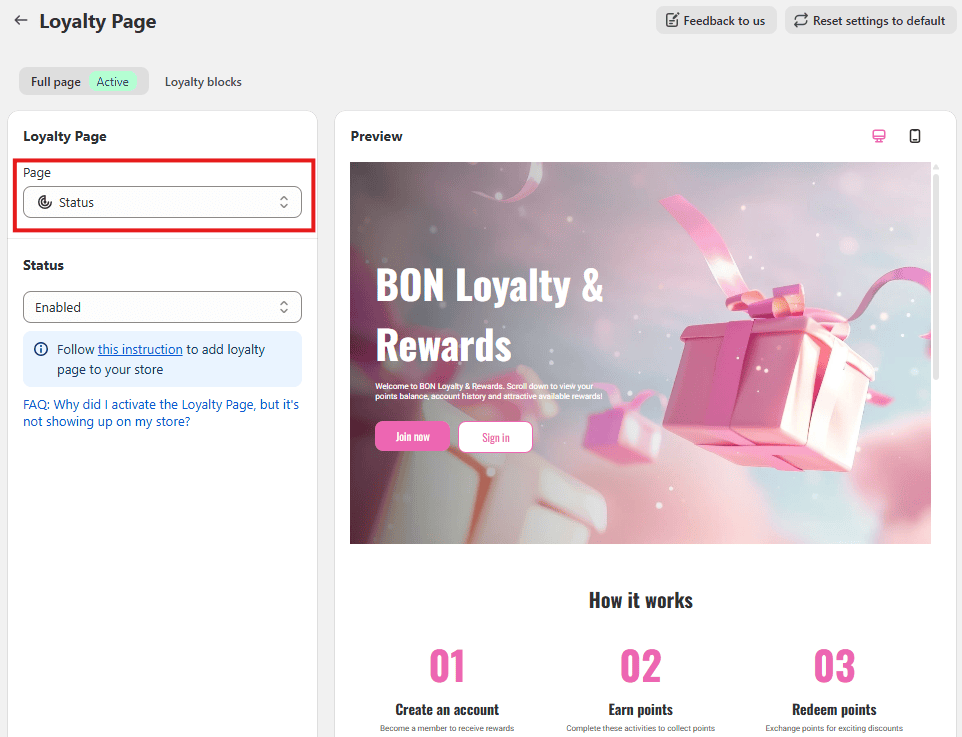
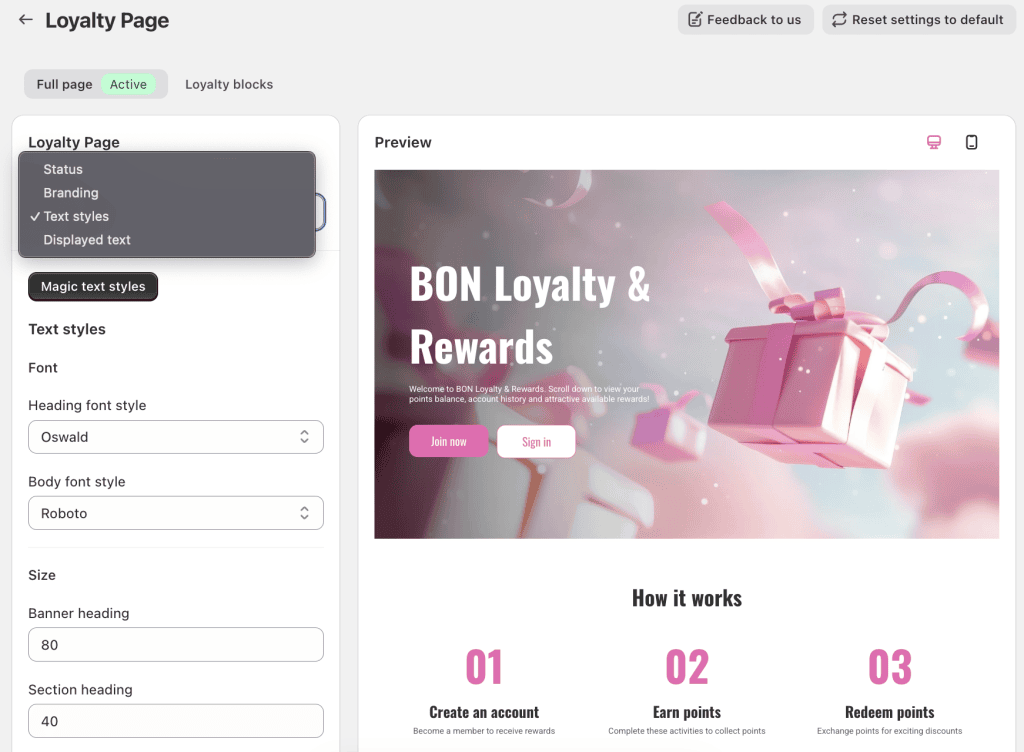
In the Full page tab, use the Page dropdown to move between the four groups of settings: Status, Branding, Text styles and Displayed text.
NOTE: Reset settings to default (top right) restores all Loyalty page settings to BON’s defaults. Only use it if you want to start over.
1. Status
Status controls whether your Loyalty page is live. Select Page > Status > Under Status, choose Enabled to activate the Loyalty page, or Disabled to turn it off.
IMPORTANT NOTE: Enabling the status activates the page in BON, but customers will only see it after you turn on the program in Settings, and add the page to your theme and menu. Kindly follow the Loyalty page display with no coding guide for your further information.
2. Branding
Branding controls the look of the page: theme colors, banner images, corner style and icons.
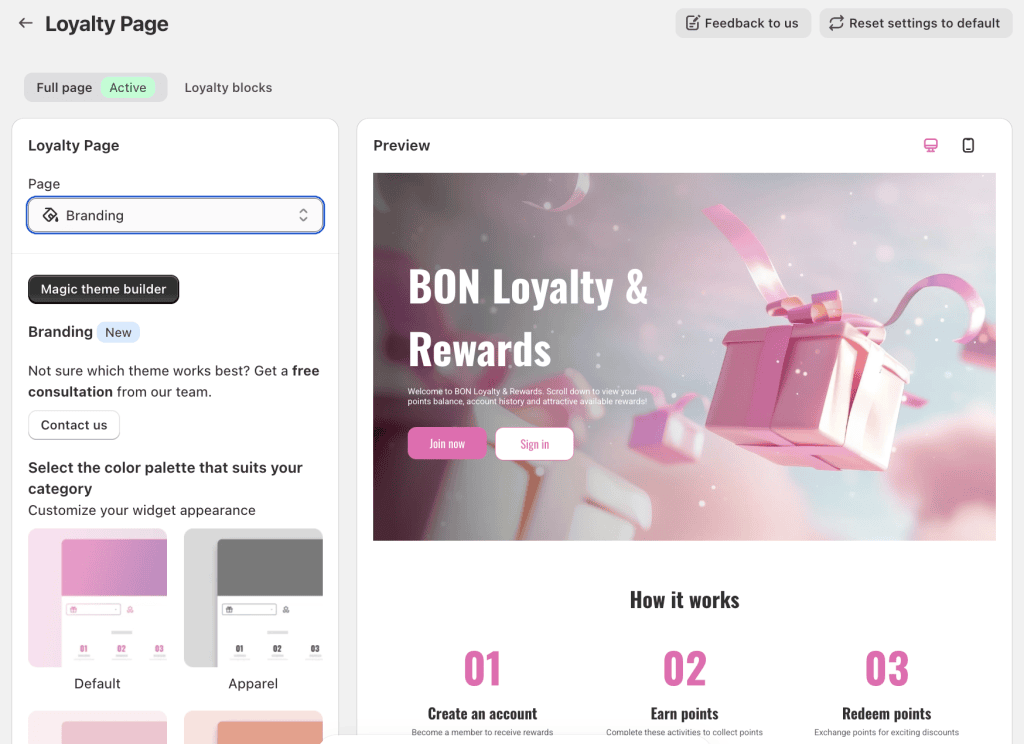
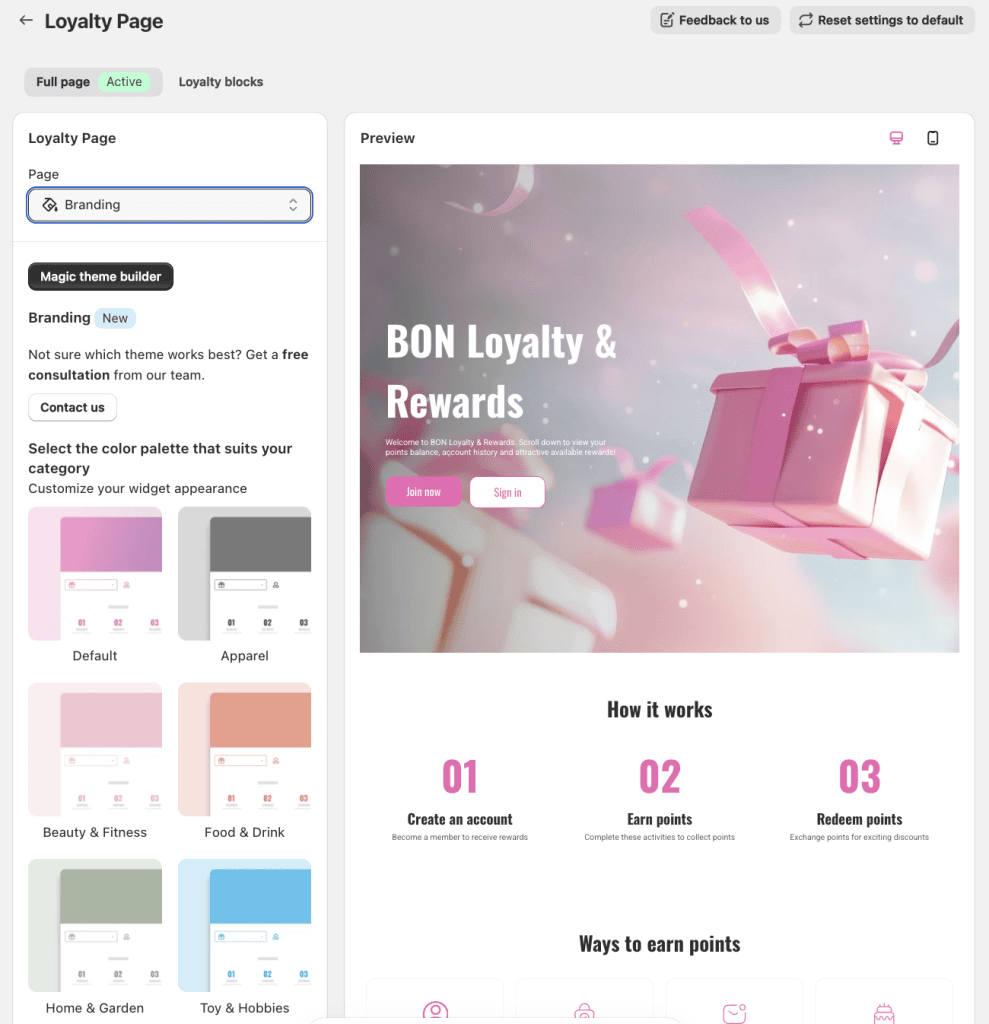
To edit your loyalty page branding, select Page > Branding from the dropdown menu for Page.
2.1. Color pallete
Pick a ready-made palette that suits your store category: Default, Apparel, Beauty & Fitness, Food & Drink, Home & Garden, Toy & Hobbies, Health, Pet & Animals, Sport, or Art & Entertainment.
The palette fills in all colors at once, and you can fine-tune them below.
You can also use the Magic theme builder at the top of the panel, or click Contact us for a free design consultation with our team.
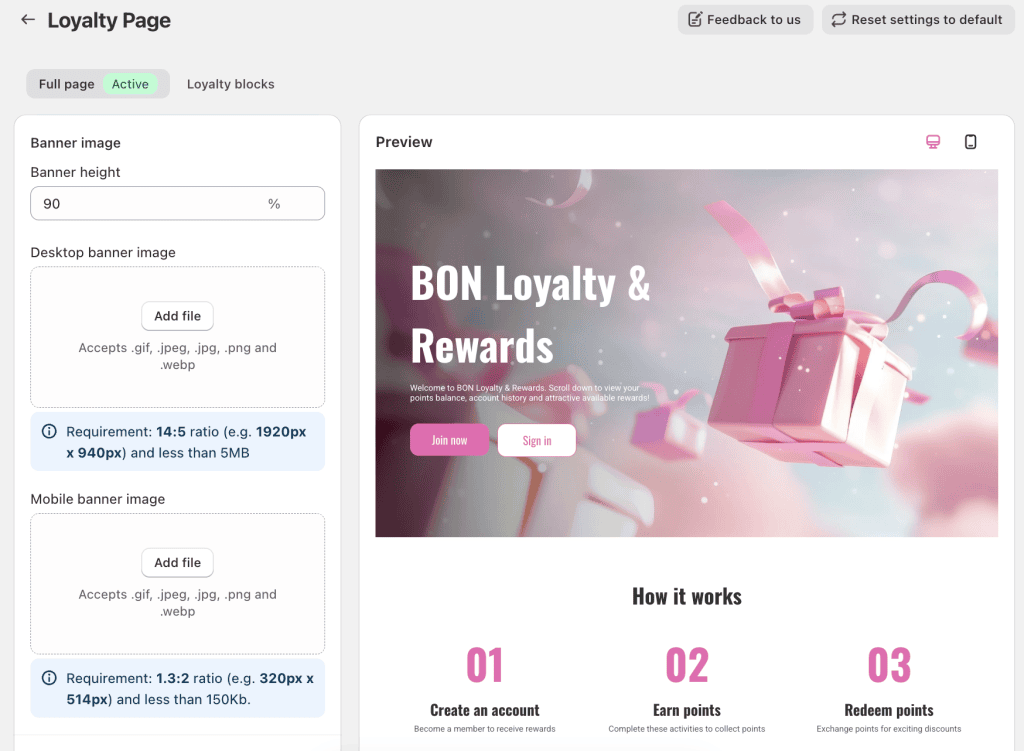
2.2. Banner image
Banner height: Set the height of the hero banner (in %).
Desktop banner image: Upload a .gif, .jpeg, .jpg, .png or .webp file. Recommended: 14:5 ratio (e.g. 1920px x 940px), less than 5MB.
Mobile banner image: Upload a separate image for phones. Recommended: 1.3:2 ratio (e.g. 320px x 514px), less than 150KB.
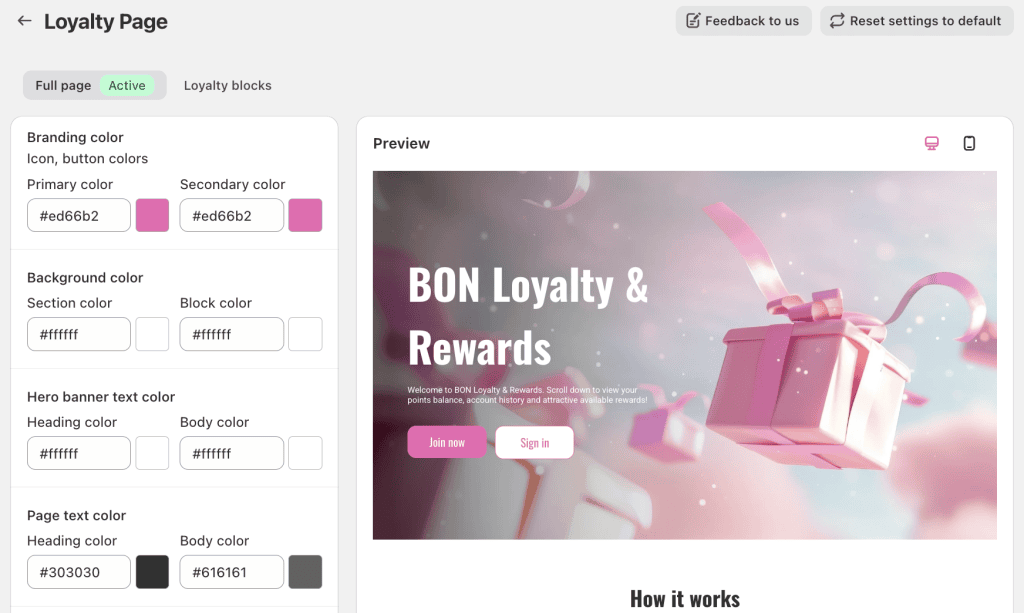
2.3. Corner and colors
Corner: Choose Square, Soft or Round corners for buttons and blocks.
Branding color: Primary and secondary colors for icons and buttons.
Background color: Section color (the page background) and block color (the cards inside each section).
Hero banner text color: Heading and body text colors on top of the banner.
Page text color: Heading and body text colors for the rest of the page.
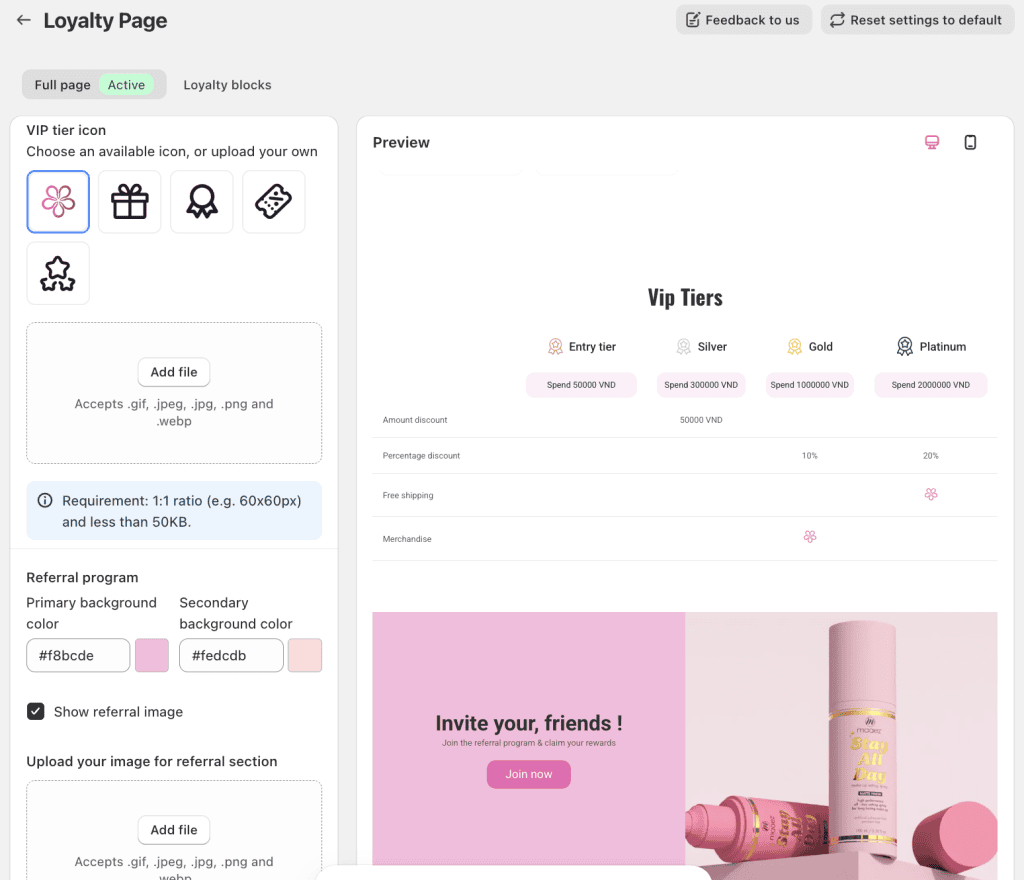
2.4. VIP Tier icon and Referral program
VIP tier icon: Choose one of the available icons, or upload your own (1:1 ratio, e.g. 60px x 60px, less than 50KB).
Referral program: Set the primary and secondary background colors of the referral section. Tick Show referral image and upload an image to display next to the referral content (recommended 4:3 ratio, e.g. 960px x 677px, less than 5MB).
NOTE: The VIP Tier section is available from the Growth plan or higher.
3. Text styles
Text styles control the fonts and font sizes used across the page. Select Page > Text styles.
Font: Choose a Heading font style and a Body font style. Pick fonts close to your store’s theme so the page feels like part of your site.
Size: Set the font size (in px) for Banner heading, Section heading, Sub-section heading, Block heading and Body text.
You can also use Magic text styles at the top of the panel.
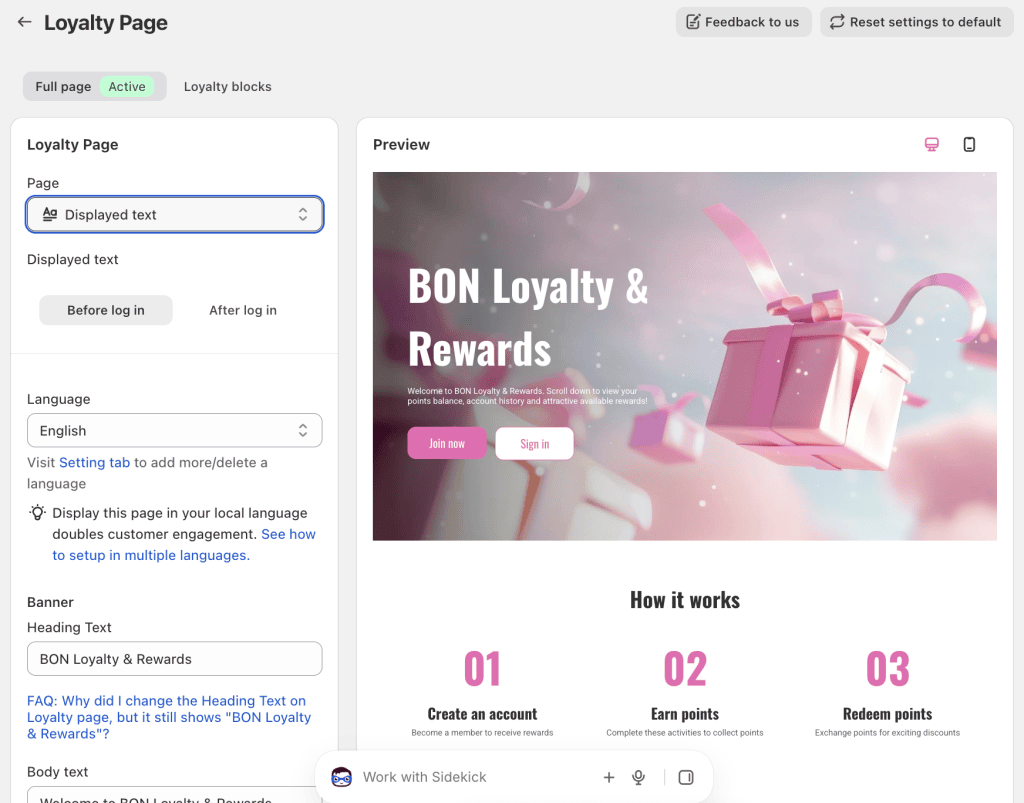
4. Displayed text
Displayed text controls the words customers read on each section of the page. Select Page > Displayed text. Use the Before log in and After log in buttons to edit the text for visitors and for signed-in members.
Language: Choose which language you are editing. Visit the Setting tab to add or delete languages.
Banner: Heading text, body text, and the labels of the primary button (e.g. Join now) and secondary button (e.g. Sign in).
How it works: The section heading and the title and description of each of the 3 steps.
Ways to earn points, Ways to redeem points, VIP Tiers: The heading of each section.
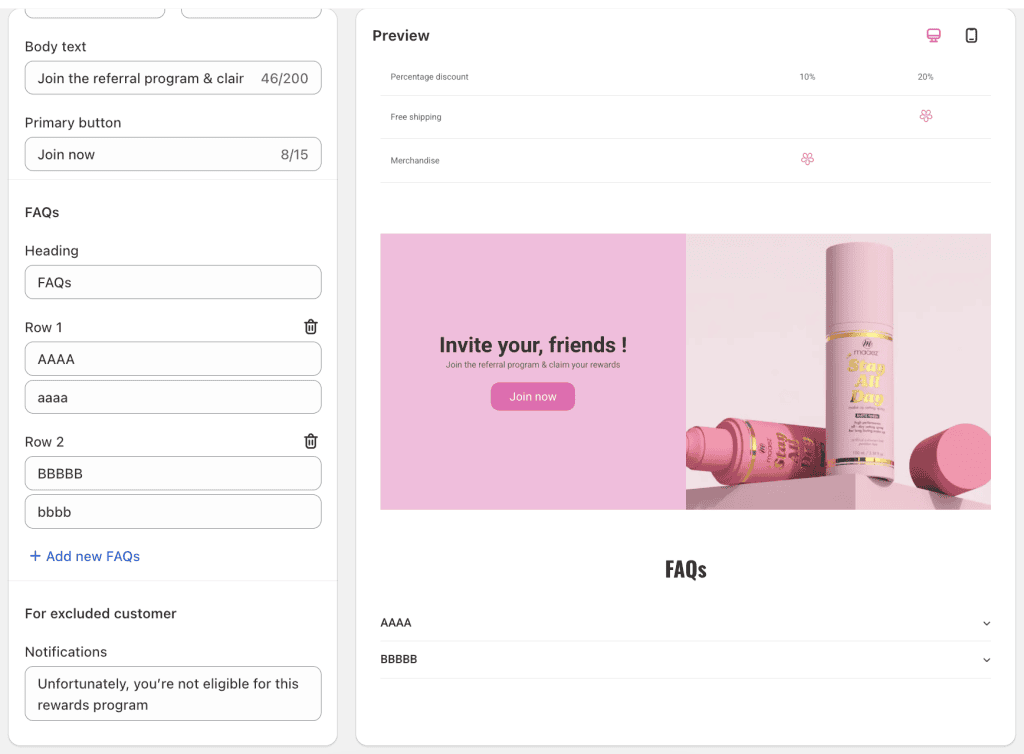
Referral program: The Give text (the reward for the friend) and Get text (the reward for the referrer), the body text and the button label.
FAQs: The section heading. Click Add new FAQs to add your own questions and answers, such as program terms and conditions.
For excluded customer: The message shown to customers who are not eligible for the program (for example, customers excluded by tag).
NOTE: Displaying the page in multiple languages is available from the Basic plan or higher. BON translates the default content automatically into French, Spanish, Dutch, German, Italian, Turkish, Portuguese, Chinese (Traditional and Simplified) and Japanese. For other languages, translate the content manually. See Display in multiple languages
Loyalty blocks
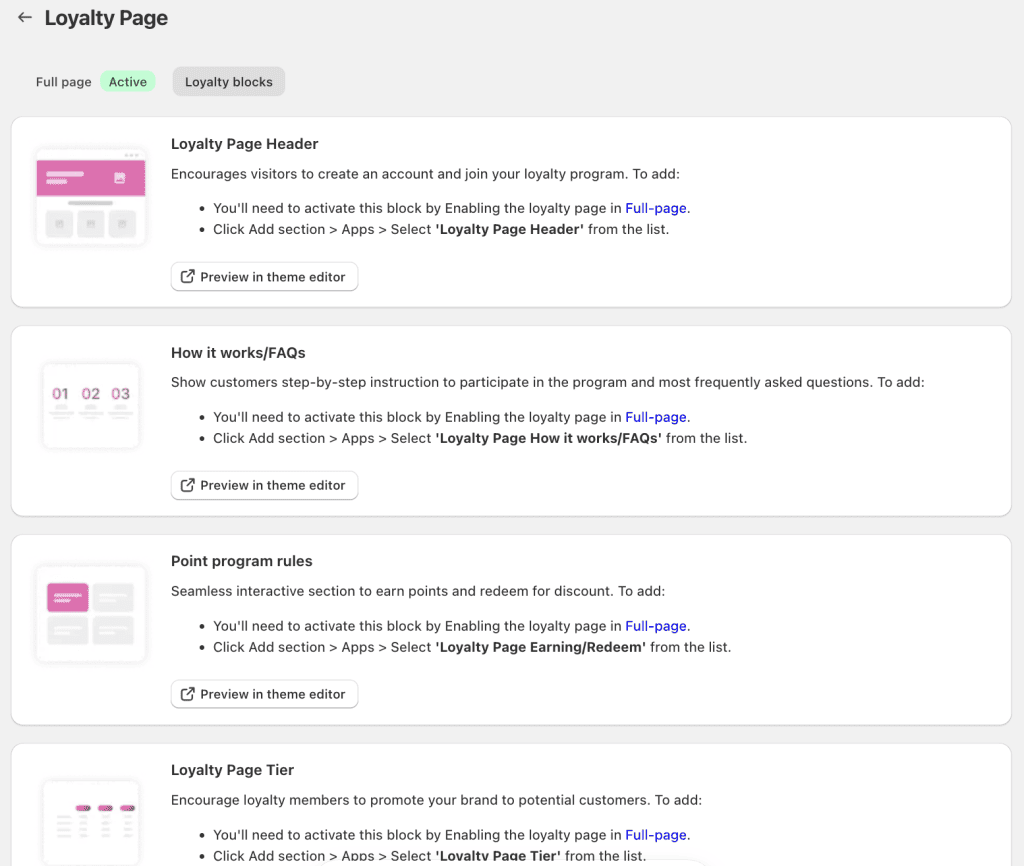
If you want loyalty content on an existing page (for example, your homepage) instead of a separate Loyalty page, use Loyalty blocks. Go to Loyalty page > Loyalty blocks tab. Available blocks:
Loyalty Page Header: Encourages visitors to create an account and join your program.
How it works/FAQs: Step-by-step instructions to join and your most frequently asked questions.
Point program rules: An interactive section showing how to earn points and redeem them for discounts.
Loyalty Page Tier: Shows your VIP tiers and their benefits.
Loyalty Page Referral: Invites members to refer friends.
Loyalty Page Profile: Shows a customer’s points balance and available rewards after they sign in.
To add a block, make sure the Loyalty page is enabled in the Full page tab, then in your theme editor click Add section > Apps > select the block. Click Preview in theme editor on any block to open it in your theme.
To hide or remove a block, click it in the theme editor, then change its visibility to hidden or click Delete. To hide the whole Loyalty page, go to your store’s Pages, select the Loyalty page and set its visibility to hidden, or click Delete page.
Display the Loyalty page on your storefront
After you finish customizing, add the page to your theme and navigation menu: